The wire core bracelet tutorial
A livejournal friend asked me how I go about spinning wire. I took photos of the whole process from wire to bracelet. There are a million pics under the cut.
If you’d prefer a video on the wire core spinning, I watched this youtube video before I started, it’s where I learned to spin on wire.
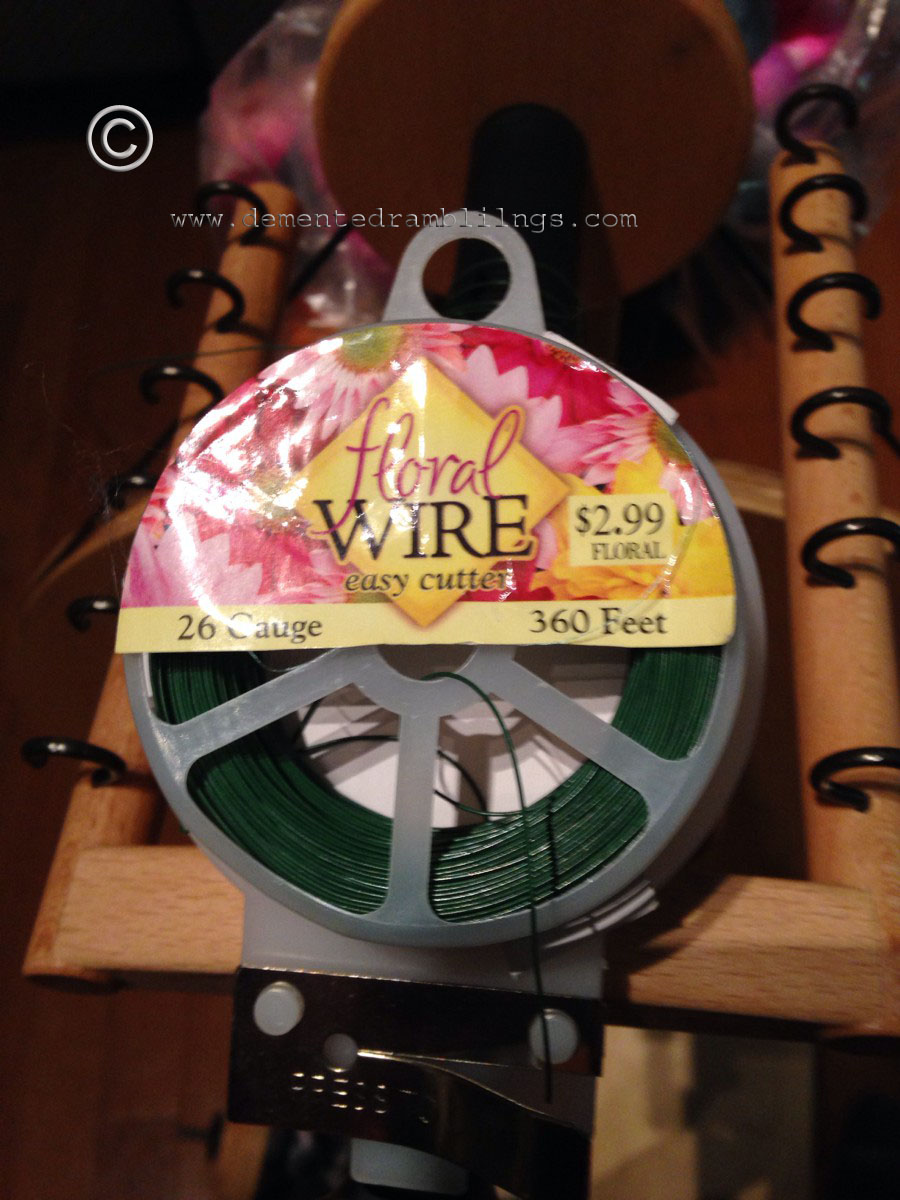
This is the wire I use, 26 gauge floral wire. Other folks have told me that they use copper or silver wire, but this works and is super cheap. $3 for 120 yards! And if you cover it well with the fiber, you’ll never know what color it is anyway.
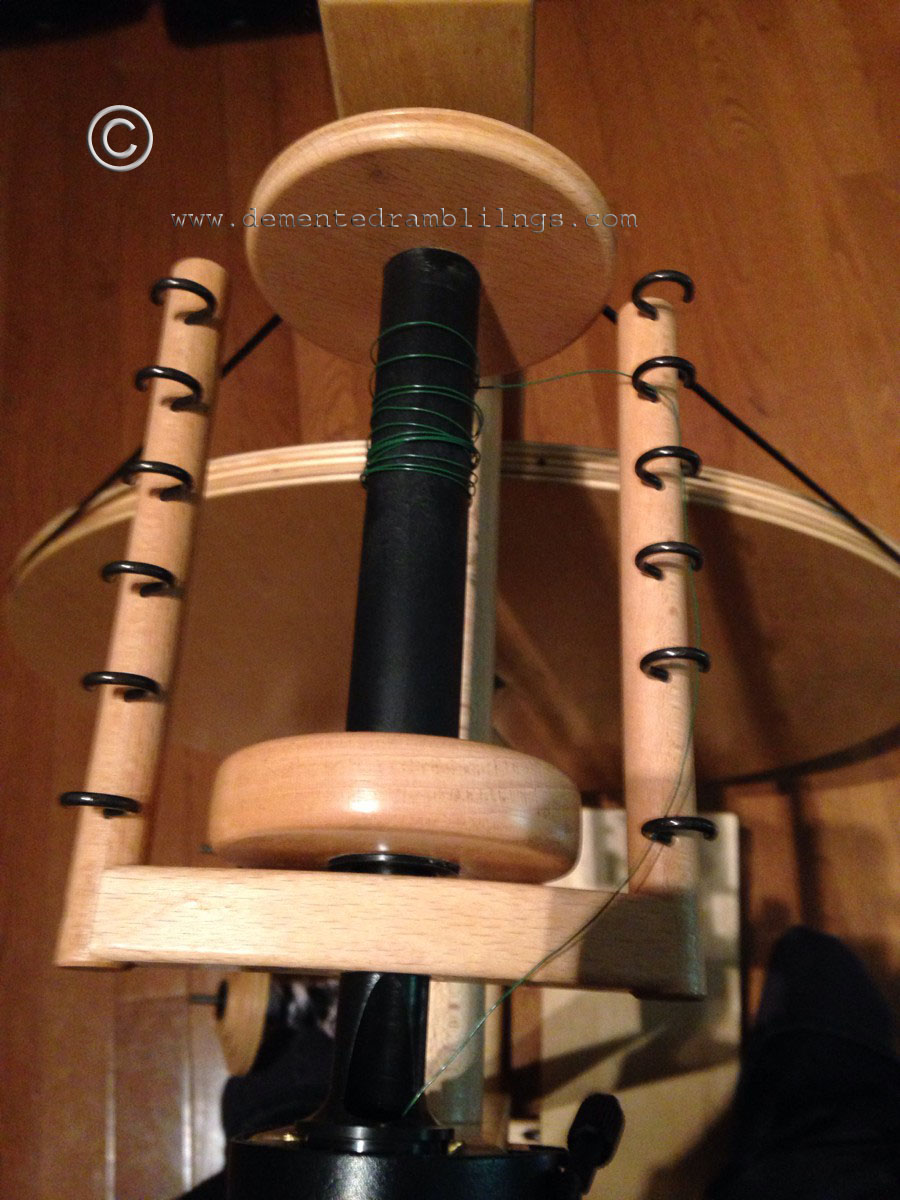
Here’s my wheel with a wire leader on the bobbin. My wheel is a Louet S17, I absolutely love it. I’ve never used any other wheel, so I don’t know what else is out there, but I took to this one right away.
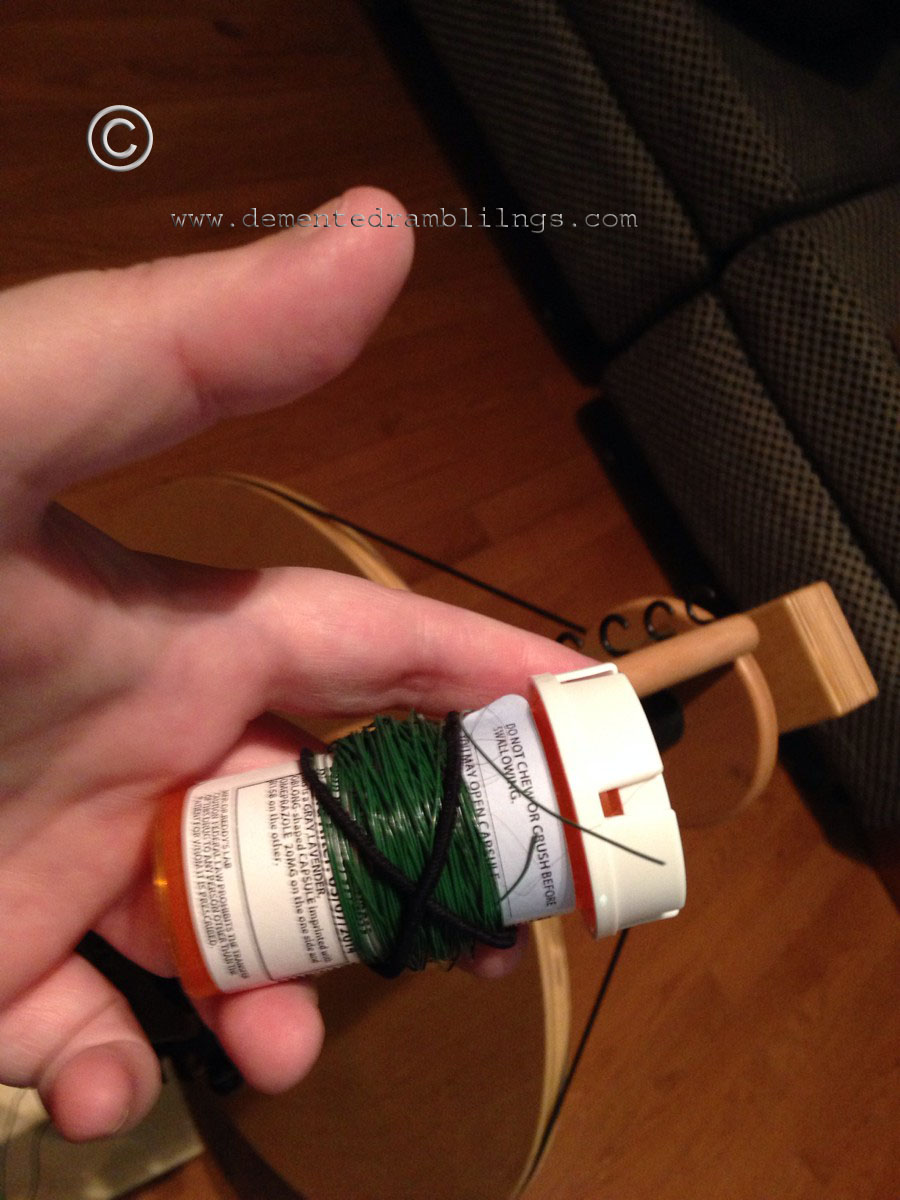
I pulled out about 10 yards of wire and wrapped it around an empty pill bottle, securing it with a ponytail holder. You need to be able to let the wire just hang while you work with it and the spool of wire is too heavy to let it just turn as needed. The trick here is to hold the fiber yet let the wire spin freely. Otherwise, it kinks up.
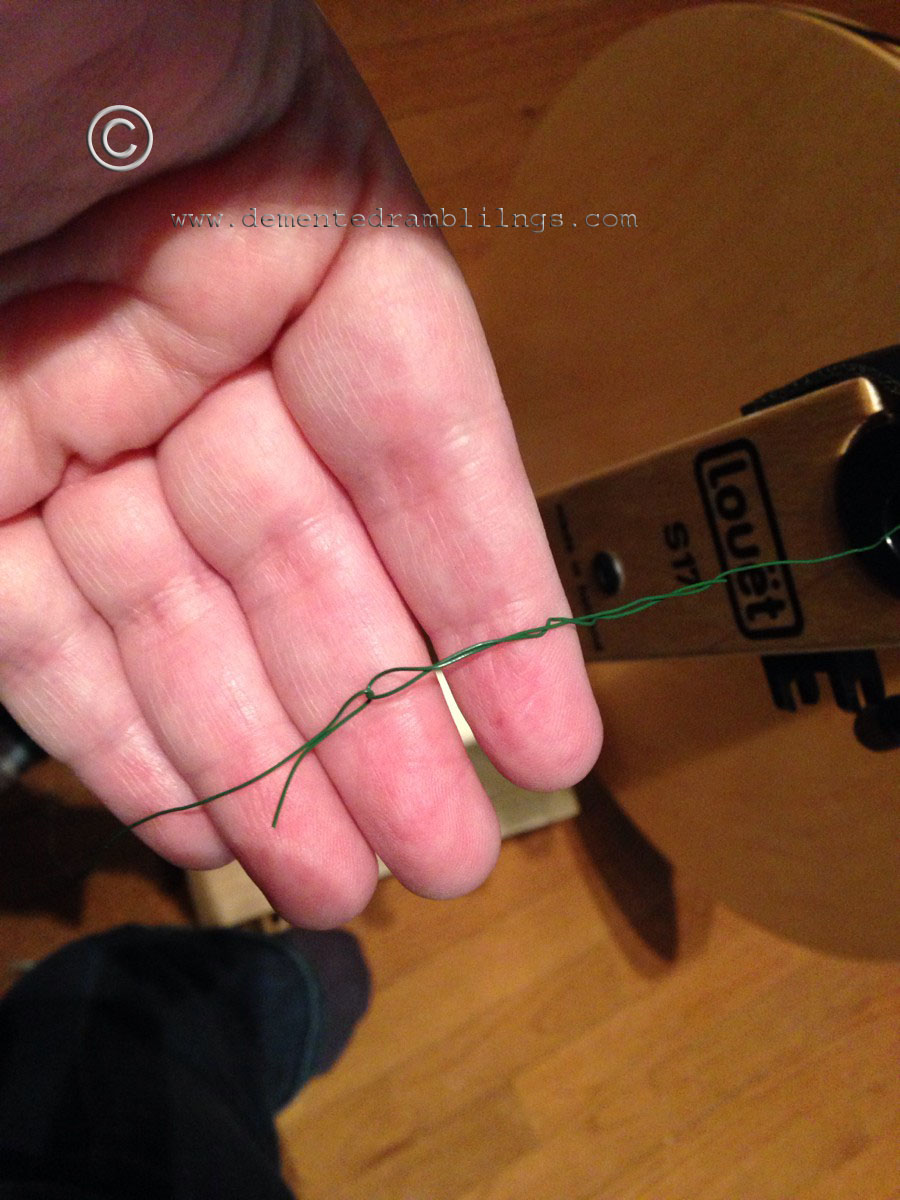
First, you attach the wire to the wire leader. A yarn leader won’t work here because it won’t force the wire to turn like a wire leader will.
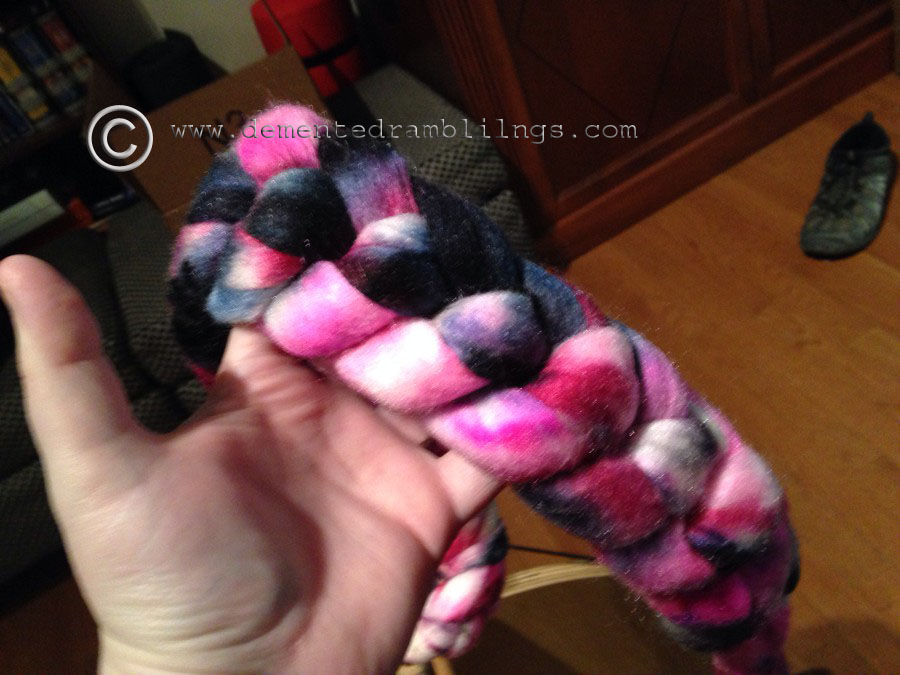
This is the fluff I’m using. It’s merino top, dyed by a local spinner/dyer – Lunabudknits, purchased at my favorite local yarn shop, A Tangled Yarn.
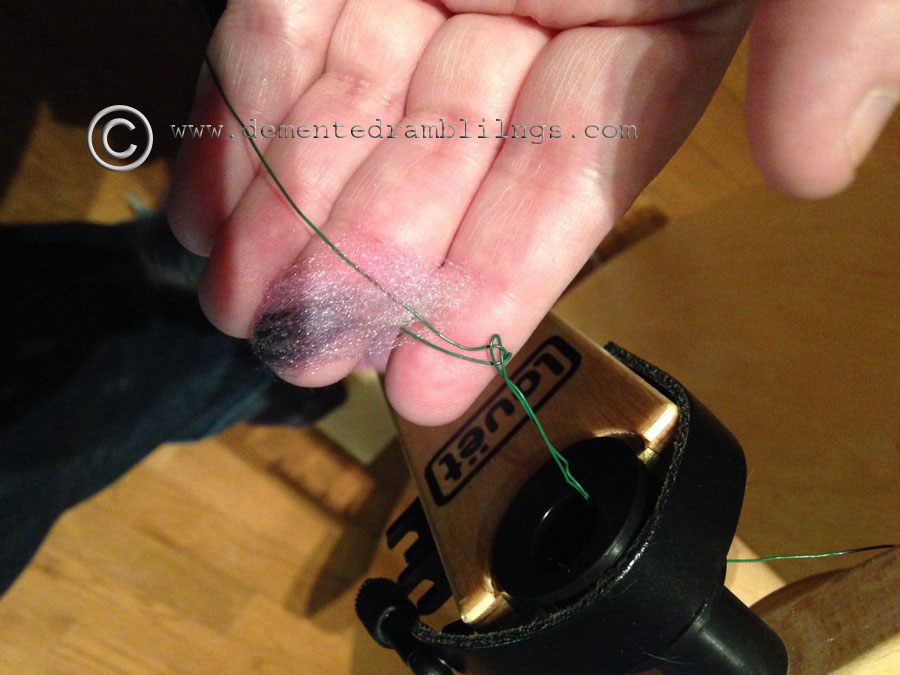
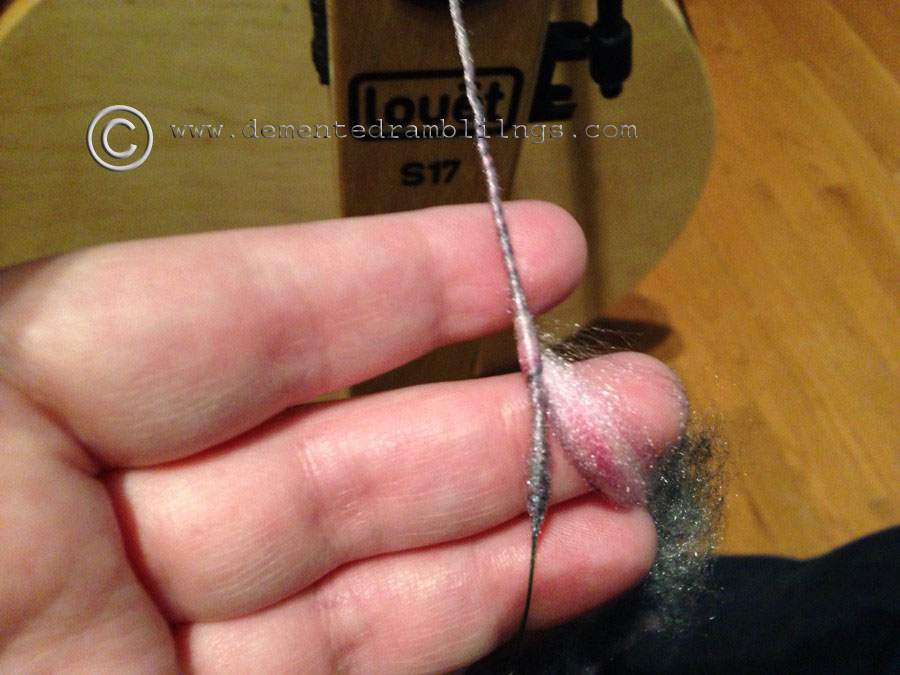
You pull out a little fluff and put it under the wire, then start spinning.
You want to kind of pinch the fiber over on itself, but not pinch the wire. I sort of pinch right beside the wire. In a second or so, the fiber will catch on itself and start wrapping around the wire core.
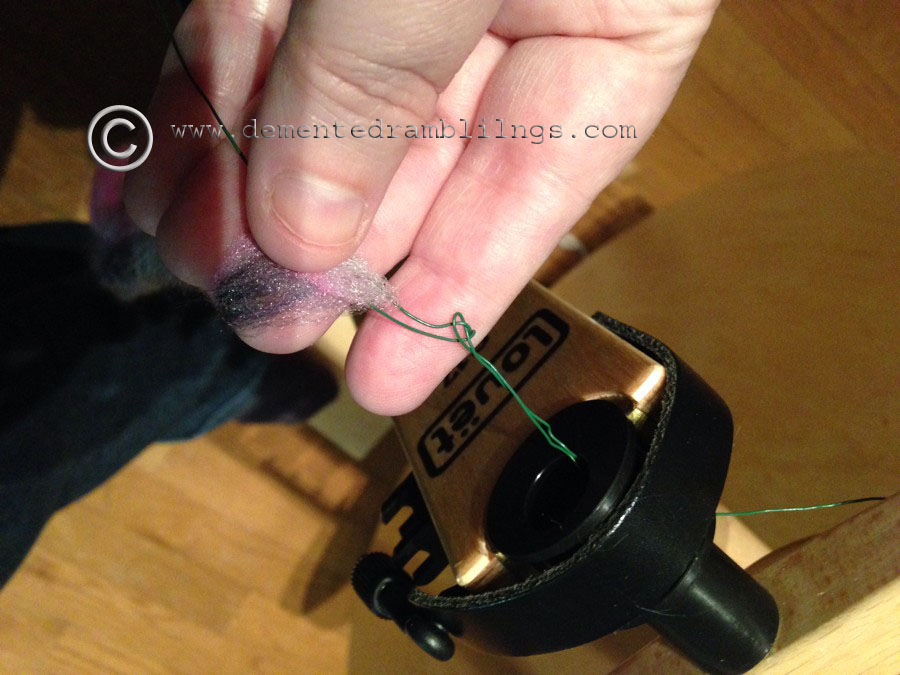
Here you can see that I’ve gotten the wire core yarn started.
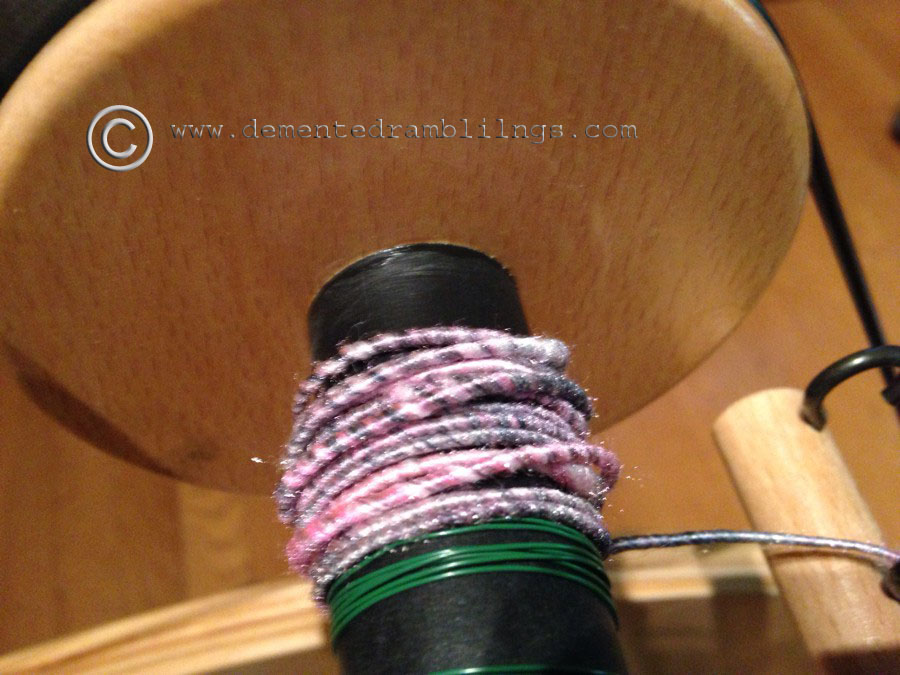
Here’s the wire started to feed onto the bobbin.
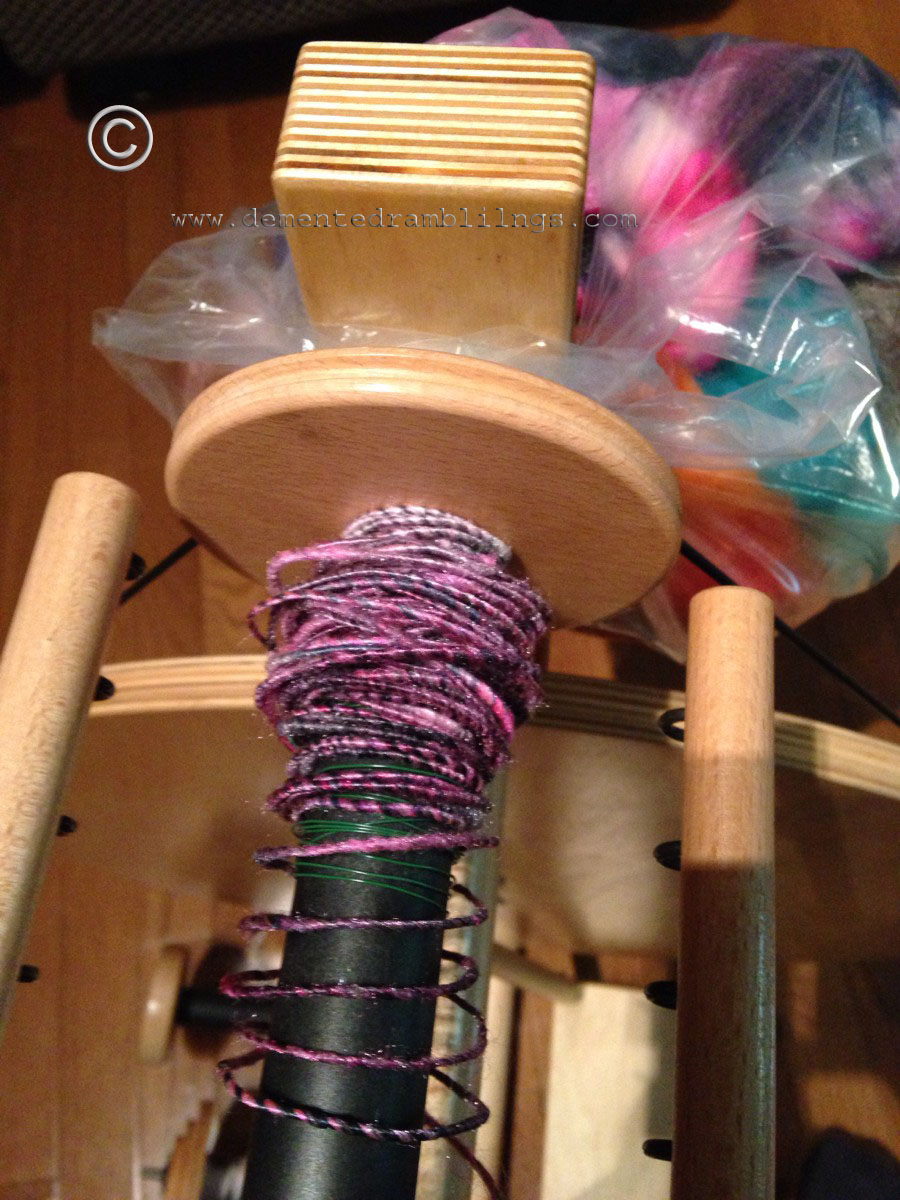
Here’s all 10 yards, finished up.
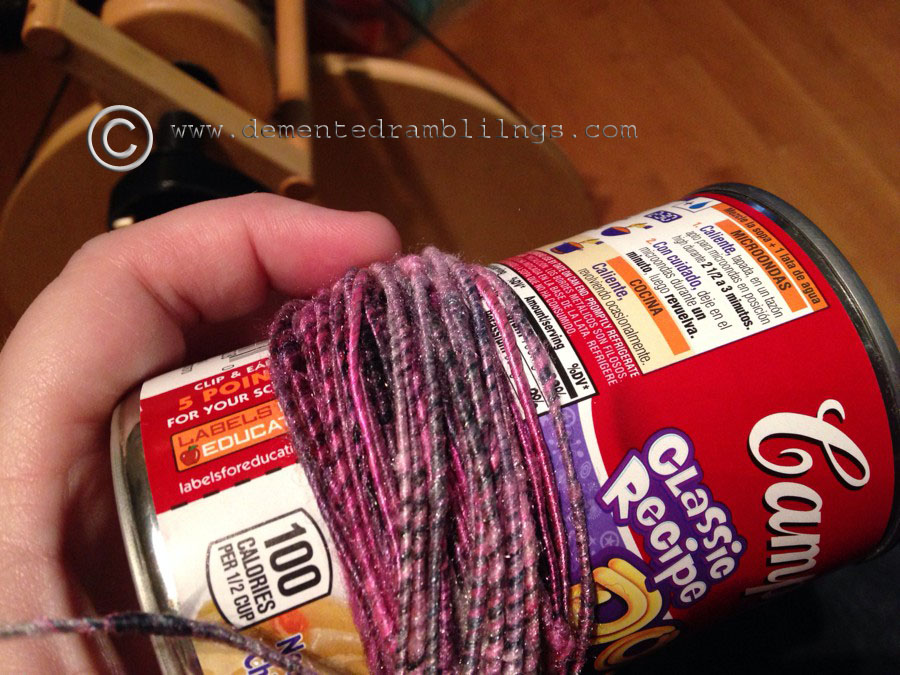
I pull it off and wrap it around a soup can. These cans are nice because the bottom of the can doesn’t have a lip for the wire to get caught on. So it slides right off.
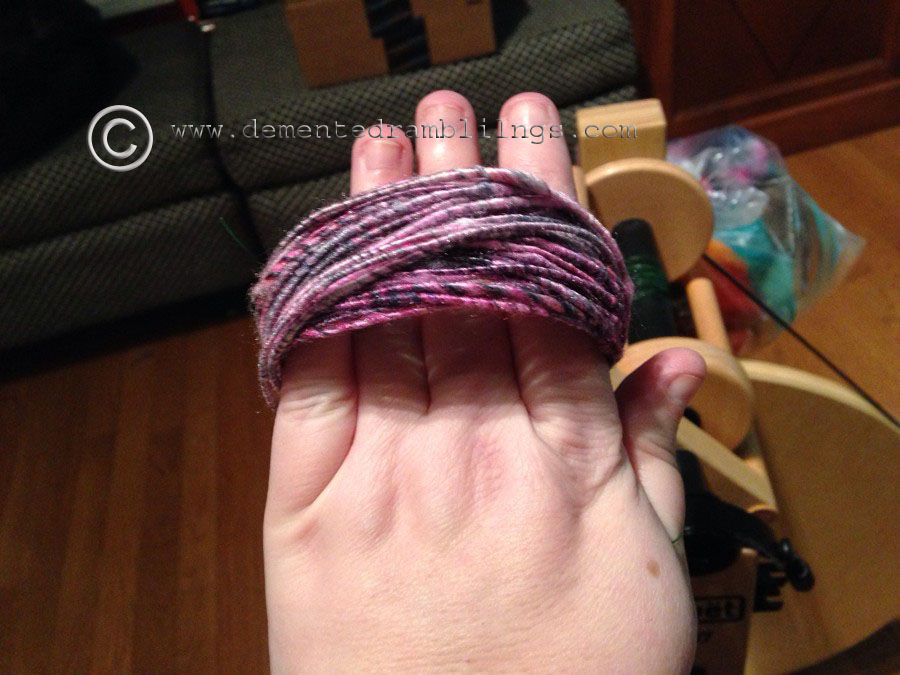
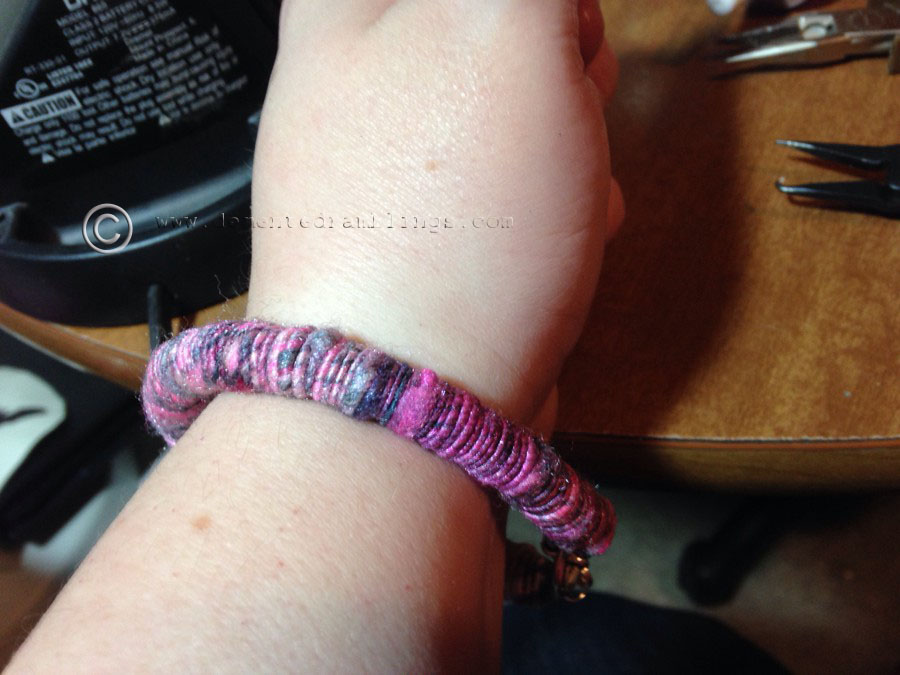
Ta-da! Pretty pink and black fiber spun onto a wire core! Now, to turn it into a bracelet!
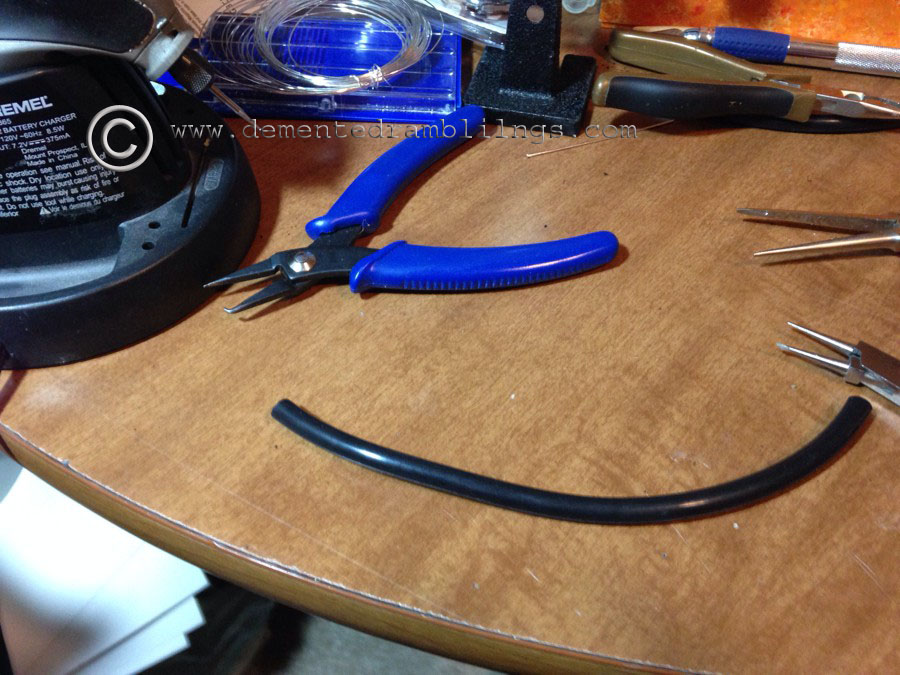
This is a chunk of that o-ring that the guy at the bead shop (Dandelion Bead Connection, I highly recommend them for your beading needs) gave me. It’s about 8mm in diameter, the whole thing was probably 4 feet long when I got it. I’m almost out of it, I’ve picked up some aquarium tubing to try next, but I thought for the tutorial I’d stick with what I knew worked. This is a solid core and the tubing is hollow, so it’s going to take me a bit to figure out how to deal with it.
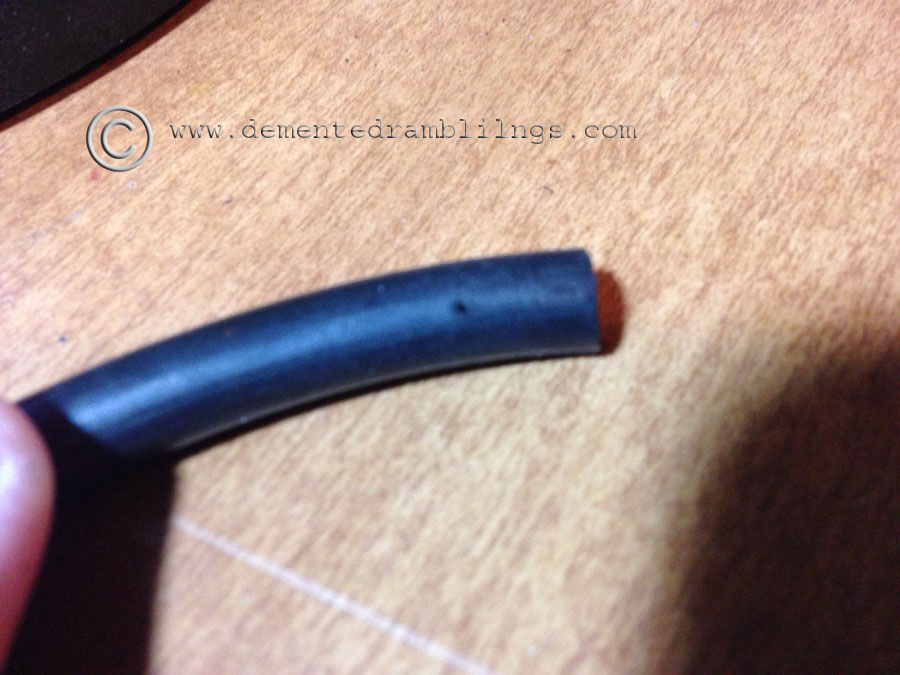
I use my dremel to drill a tiny hole about 1/4 inch from each end.
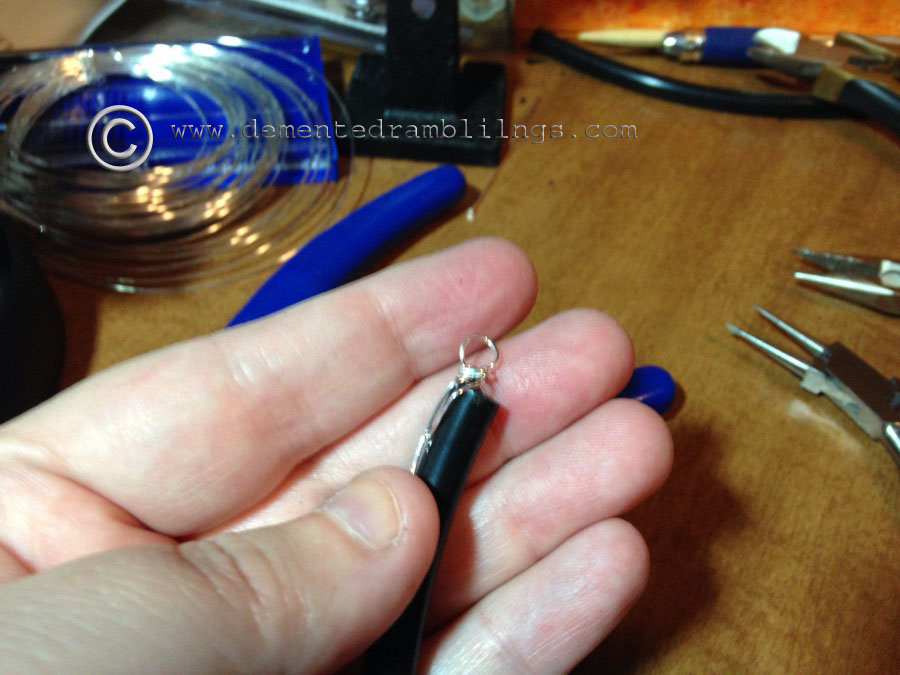
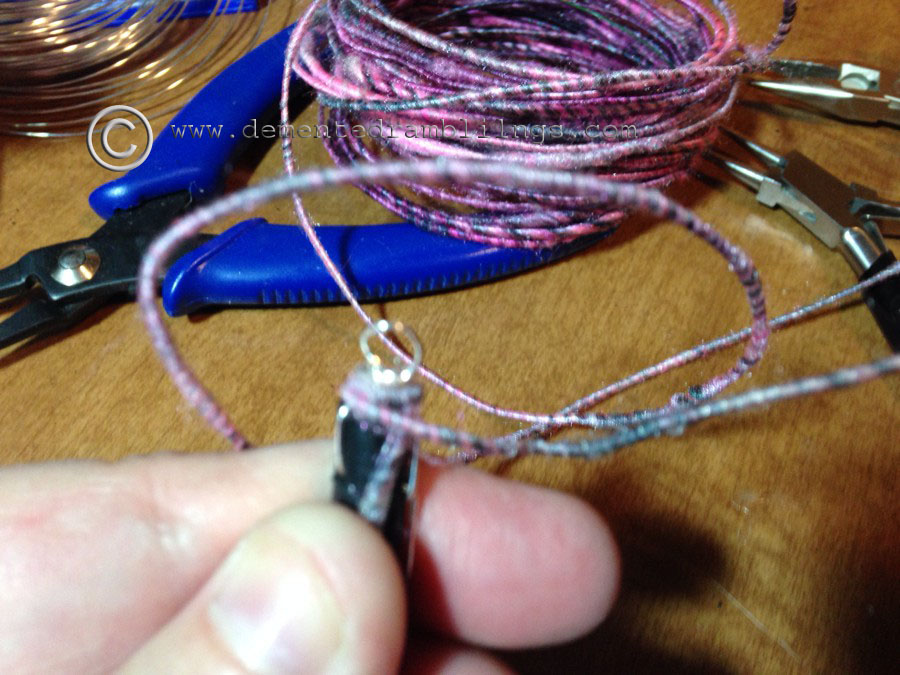
Using some very fine wire (I think that this too is 26 gauge) I anchor the wire through the hole and make a loop on the end. It doesn’t matter if the parts on the sides are kind of ugly, they’ll be covered up when you start wrapping.
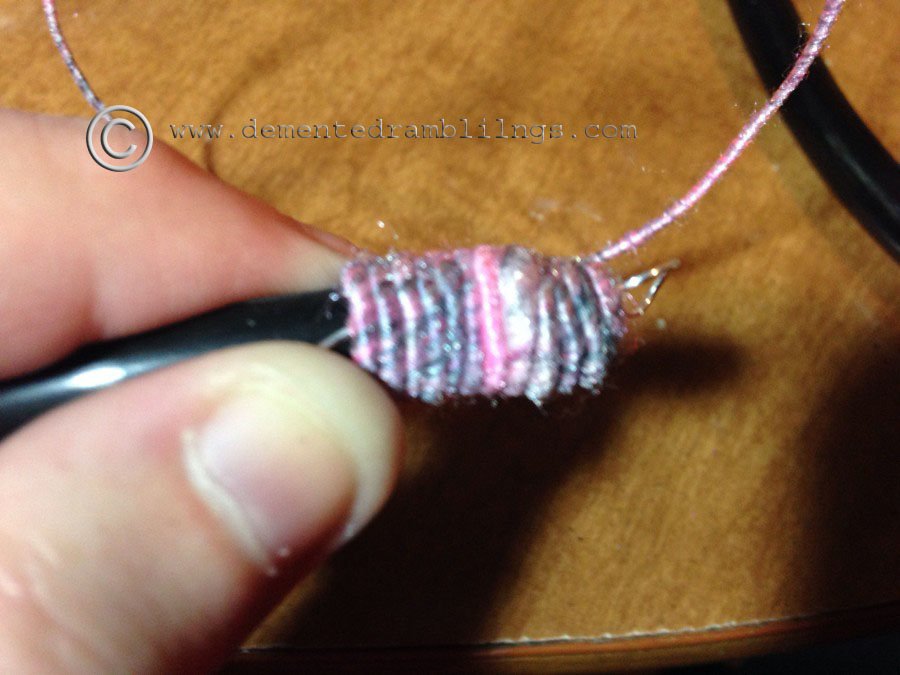
I start wrapping at one end, tucking the end of the wire up under what I’m wrapping so that it’ll be secure.
and then you wrap
and wrap
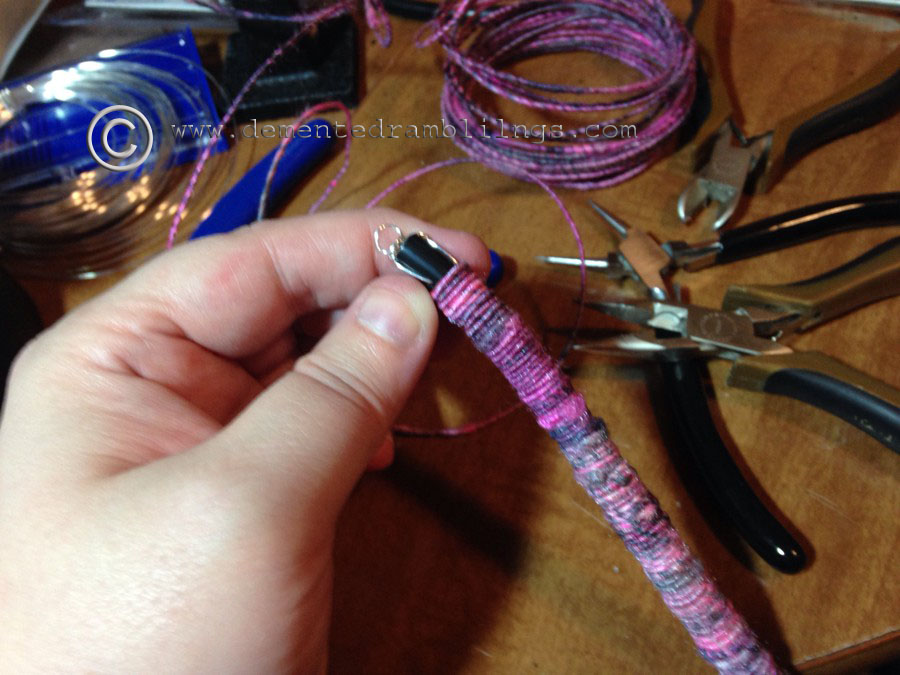
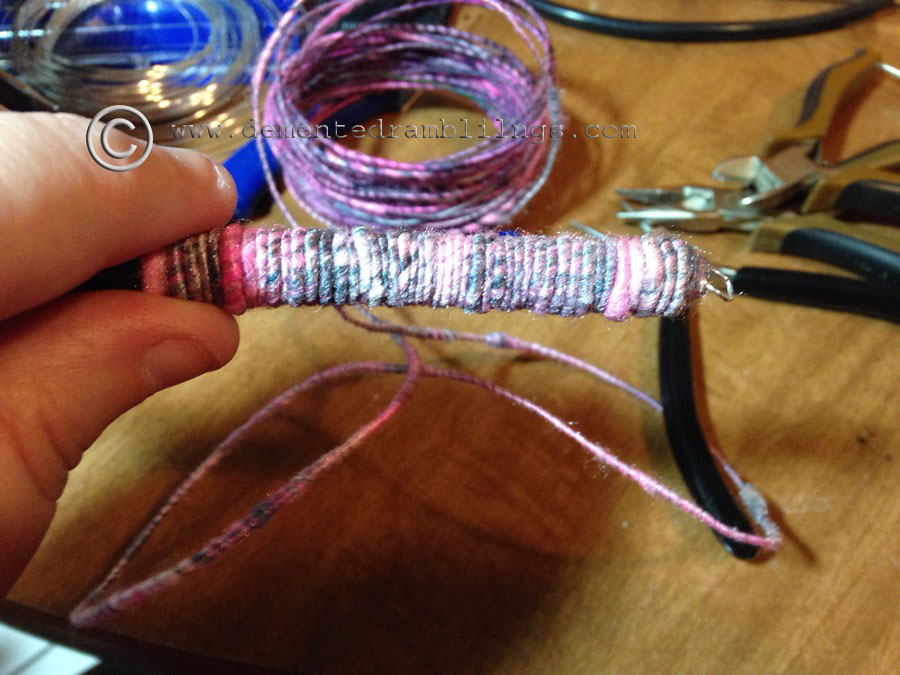
and wrap, keeping your wire tight together as you go. I think I used less than 5 yards to make the bracelet, but I wanted to be sure I had plenty. Besides, I’m sure I’ll have no problem finding homes for multiple pink bracelets.

I put a tiny bit of glue on each end, to keep the ends tight and stop any fraying.
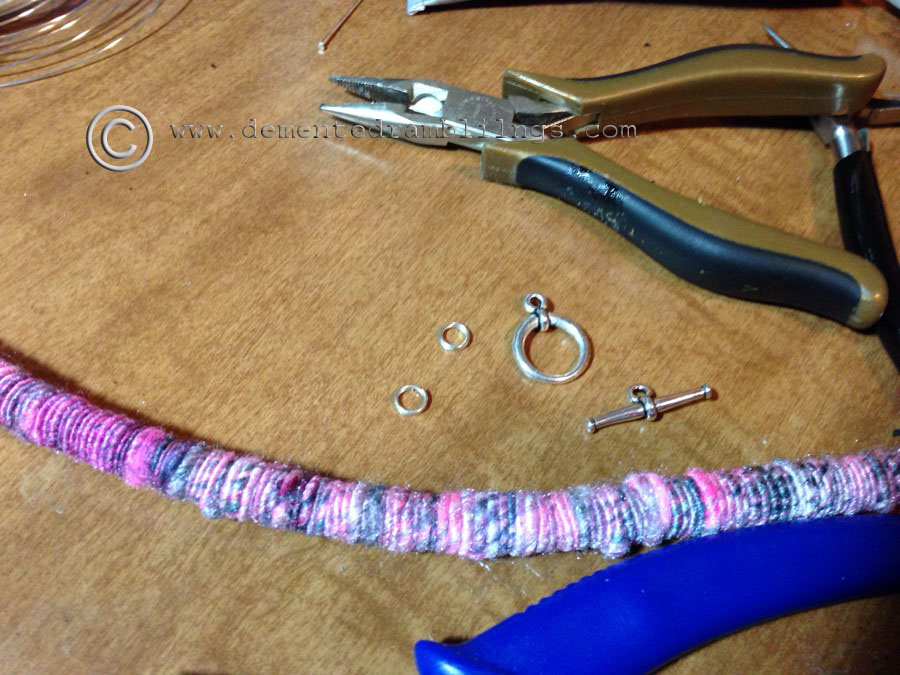
Then I use a couple of split rings to attach each half of a toggle clasp to the ends. I just like toggle clasps for bracelets, I find them easier to connect one handed than the ring clasps.
And it is a bracelet!
When I originally set forth to make these bracelets, I couldn’t find any tutorials beyond the spinning of the wire. I had to feel my way through it. Many thanks to Lunabudknits and Dandelion Bead Connection for all of their help along the way!
June 22nd, 2014 at 5:03 am
Thank you, thank you, THANK YOU!!!!! I have been trying figure out how to cover wire like this ever since I discovered Woolly Wire. I love it but it’s kind of expensive and I like to make things like this to suit my mood and color/textual whims. Thank you so very much for this awesome tutorial. The pics are perfect. Bow I just need to find an inexpensive starter loom with instructions (written in third level dummy terms :-P) and some roving another fibers and I’ll be good to go. I imagine it would be tedious at best but do you think this can be done all by hand for shorter lengths? Just a bit for small projects until I do get a loom and can make larger batches. Your input and opinions would be greatly appreciated! Thanks again!
June 22nd, 2014 at 1:10 pm
I’m not sure if you could do it without a wheel. I’ve been trying for a while to figure out how someone could do it with a drop spindle (which can be purchased or made for a few dollars) but I don’t think that it would work. Unless, maybe, you had another person to help. Perhaps, if you could get someone else to spin the spindle while you hold the wire and fluff, but I can’t figure out how to do it without a wheel and just two hands.
Good luck on it!
June 22nd, 2014 at 5:09 am
*derp* Wheel! Not loom. Sorry about and the typos…. long night and no sleep has effected my brain!